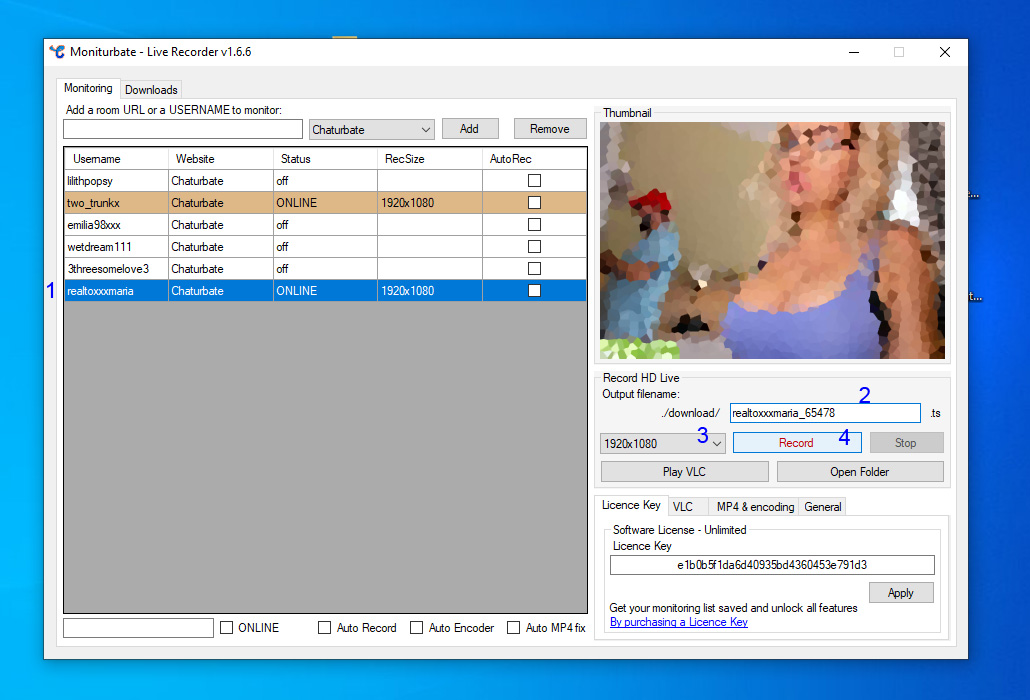
After selecting an online broadcaster from your monitoring list (by simply clicking on a row), you will see a thumbnail of the ongoing show (or the last known frame), and the record button will be enabled.
First you need to name your video file to be output in your download folder. The software suggests automatically a naming but you are free to name it as you wish. Note that with the auto record mode, the software will decide how to name the video files, using usernames and timestamps.
You can also select a different video size to be captured between those available, note that this setting is kept in memory (for each broadcaster individually) and will be used for later auto recordings if any. We suggest you to leave it as default, if you want to always capture the highest resolution available.
Once you have clicked on the "Record" button, the broadcaster status should pass from "ONLINE" to "Recording", and you should open your "Download" folder in order to see your video files. Note that you should not open or use a video file being written at the same time, in order to avoid locks errors which could simply interrupt the recording.
Step 3